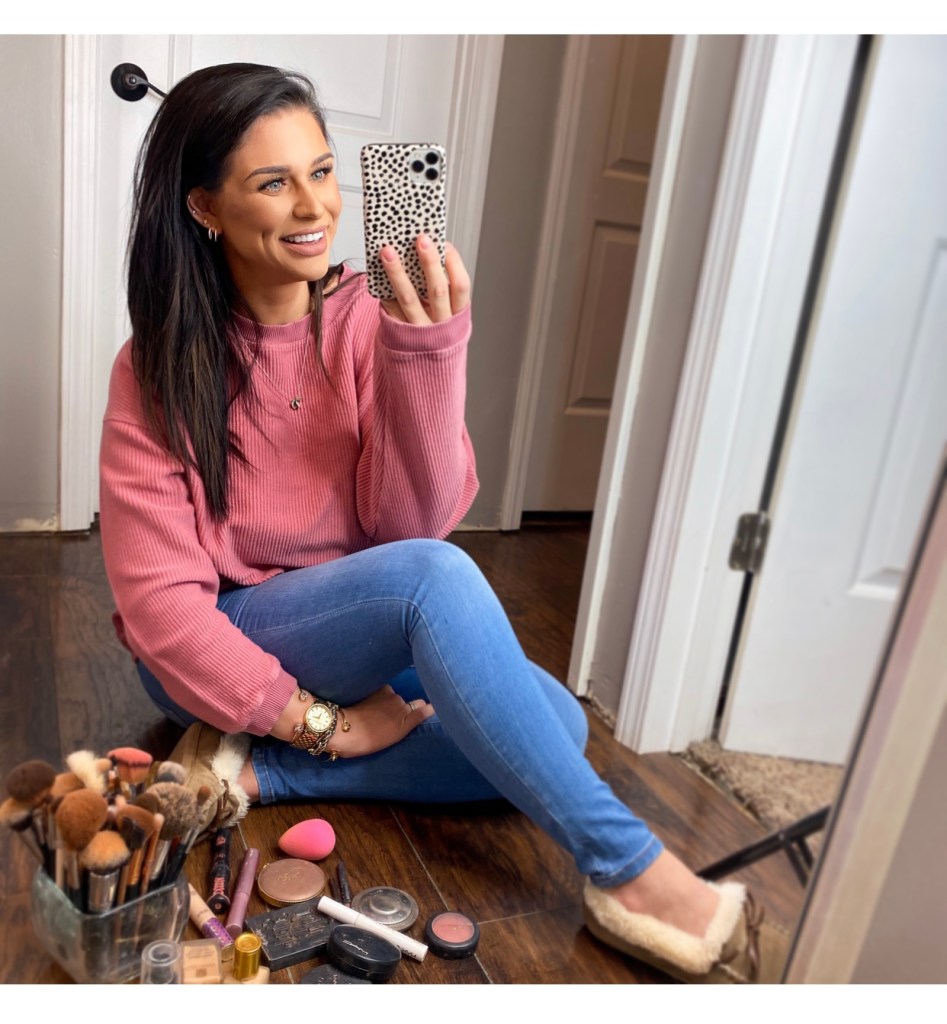

So let’s talk makeup! I have always absolutely loved makeup, but have I always been good at it? Heck no. I believe that makeup is used best when it makes you feel good, no matter how it is applied or how much or little you use, it’s a personal preference and no one should tell you otherwise. Whether you are a makeup mogul or an au natural girl, it is your choice! You can’t please everyone, so do what makes you confident and ignore the rest! I wanted to share with you all MY step by step makeup routine with products I use and how I apply them. Again, this is MY makeup routine and how I apply it. I did not go to school for cosmetology but was trained by two amazing makeup artists, Emina Osmanovic and Joy Loveless. I definitely use techniques they taught me but also some of my own. When working with clients I normally did eyes first because I was using multiple eyeshadows and their looks were normally more glam. This tutorial is face first then eyes because the eye look is SUPER simple.
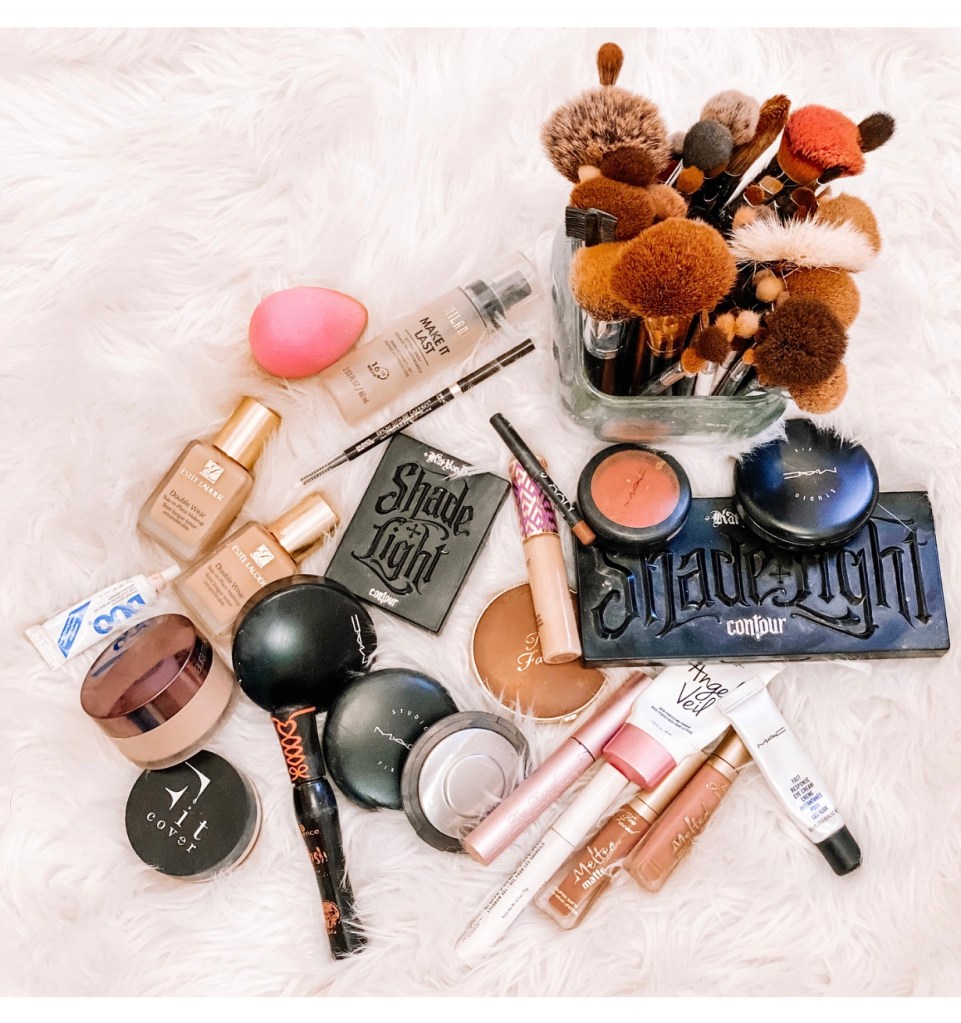
Ok , first things first, your makeup will only look as good as your skin underneath (or a filter lol!). I use Tinkle razors from Amazon to rid myself of peach fuzz every few days so my makeup goes on smoothly. I also highly recommend a good skin care routine to keep your skin moisturized (you could use a bunch more skin prep products before you do your makeup but this is my everyday so I use minimum prep). All brushes that I use are pictured above with captions of what I use them for. ALSO ignore my roots and the powder all over my shirt! So now that I have said my disclaimer, lets jump into the steps!
Prep Work/Skin
- First thing, start with a clean face! Then, make sure to moisturize and pull the lotion down your neck. (I think your neck ages 7x faster than your face, or something like that! eeeekkk!)
- After moisturizer is on, apply MAC Fast Response Eye Creme underneath your eyes to help brighten and wake them up!
- Next, apply primer to your face, I use NYX Angel Veil for all over the face and Porefessional where pores are largest. The trick with pore filling primers is to squeeze onto finger and rub together to warm it up. Then apply to the areas of your face where your pores are largest/most noticeable. Normally this is on your cheeks and your chin. Make sure to press it into your skin, not wipe. This way it really helps to blur your pores.
- After primer has been applied, grab your foundation (I use Estee Lauder Double Wear at the moment) and pour a nickel to quarter size amount on the back of your hand (this warms up the foundation so it doesn’t slide off your skin). Dab your beauty blender into the foundation (make sure you wet your beauty blender first). I hold my beauty blender with my pointer finger at the tip so I have better precision and control.
Foundation
- Start by applying your foundation in the center of your face and work outwards by bouncing your beauty blender up and down. This way it won’t be thick at your neck/jawline. Do not forget your ears, behind your ears, the crevices by your nostrils and make sure to pull down and blend onto your neck. This will give you an all over even appearance.
- If you start to notice an area where your foundation isn’t wanting to stay put, slow down how fast your bouncing the beauty blender. Take the sponge, press down slow on the area and release slow. This will help to keep the product in place.
Concealer
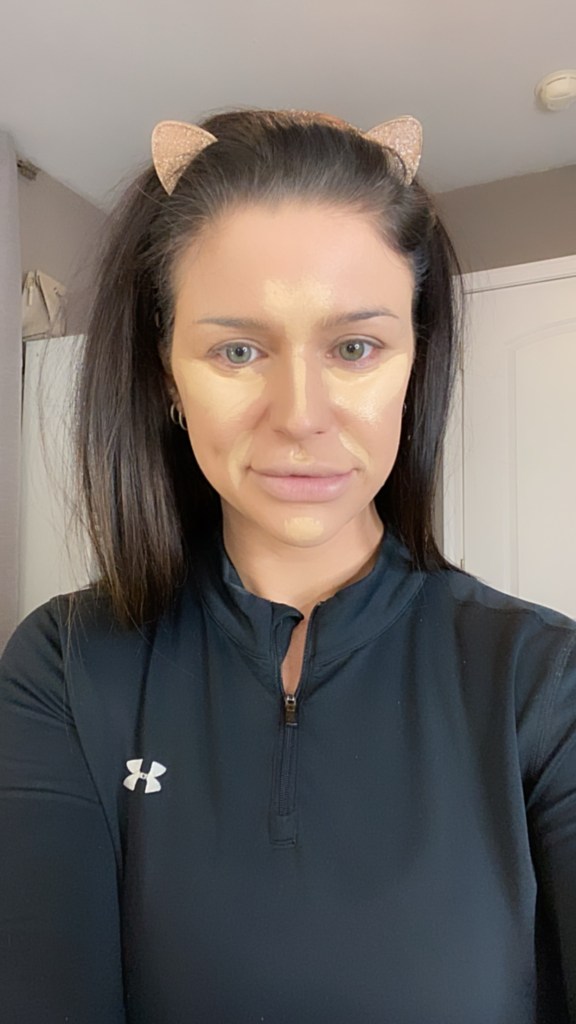
Next, it is time to apply concealer. I use the holy grail of concealers, Tarte Shape Tape (I vary between shades depending on how dramatic I want the lighted areas of my skin to be….shade in picture is Light Neutral.
Take the wand and apply under the eyes, bridge of nose, forehead, chin and smile lines (personal preference). You don’t need to use a ton of product, a little does a long way (even though I use a lot 🙂 ). And remember, this is where light would naturally hit your face that you are trying to accentuate. So, if you have a larger forehead you will want to use a smaller amount and vice versa. Blend out with beauty blender.
I do not do a creme contour on my everyday look, so my next step is to set my face with Milani Make it Last setting spray. Since I am done with creme products this helps to lock them into place and really fuse them together.
Powders/Bronzer:
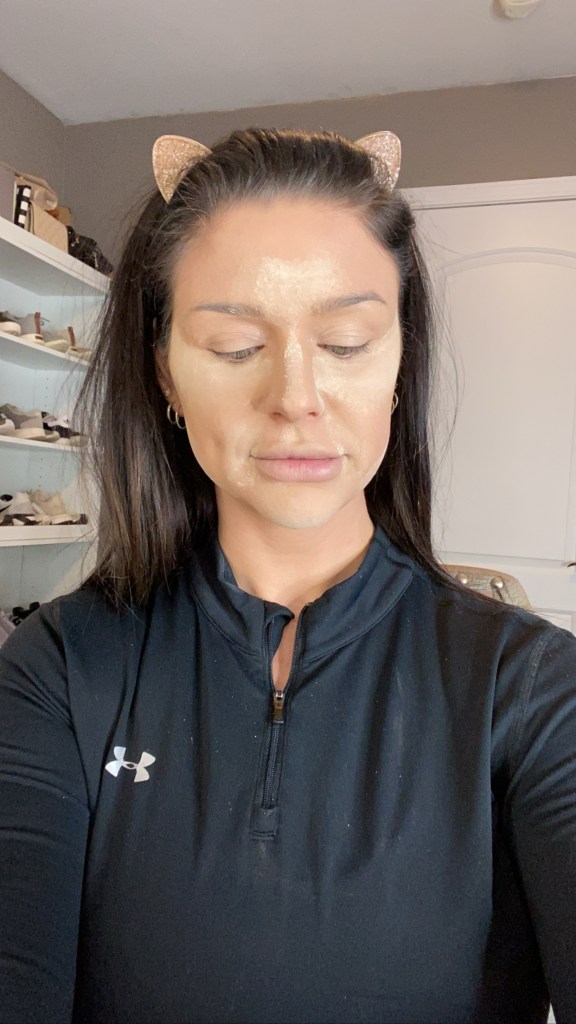
Once your face is dry, it is time to set the areas with setting powder. My personal preference for setting powder is Laura Mercier Translucent setting powder or Huda Beauty. Take your beauty blender, dip into powder and apply to the same areas you applied concealer to set them- for reference look at the picture to the left. Next take large fluffy brush and wipe away powder and blend all over face.
Face should be set and very “flat” looking.
Next, use the Kat Von D Shade & Light Palette (or powder highlight &contour palette of choice). Grab a medium, pointed, fluffier brush (see top pictures) and pick up the desired lightness of shade, tap the brush to get rid of any fallout and apply to your under-eyes, forehead and chin.
Then use MAC Studio Fix OR Fit Cover powder, and apply everywhere you didn’t place the brightening powder with a kabuki brush or a fluffier condensed brush. Pick up product with brush, and tap to get rid of any fallout again. Press lightly into skin and make sure to BLEND and pull the powder down along your jawline onto your neck. Then, set my face with setting spray again. Wait for it to dry.

After your face is dry it is time to apply bronzer. Currently I’m using Too Faced Chocolate Soleil mixed with MAC Give Me Sun!. You will want to grab a medium to large fluffy brush, pick up the product with your brush, tap to get rid of any fallout so it doesn’t go on too heavy. You can always build up. Dab on cheeks and blend towards your ears moving the brush in small circular motions, then move up the temple onto sides of forehead and the top, then move down to the back of the jaw and underneath the jawline and under the chin (this movement should almost make a number 3 on the side of the face. Lastly, apply bronzer to the sides of the neck. Your face should now have more dimension to it.
Contouring
Up next is contouring. I Use the Kat Von D Shade & Light Palette also to contour. Using a Morphe R10 brush dip into the shade that is best for your skin tone, I use the medium shade. Tap brush to get rid of fall out. Start by applying product using a light pressure, pressing motion of the brush onto skin underneath cheekbone, the right above the top of your tragus is a good starting point. Next, blend by pulling the product with the brush down towards the the top of the corner of your mouth (do not go all the way to the corner!). The farther you pull the contour towards your mouth the more intense the contour will be (you can end up looking very sucked in, so be careful of this). After you have your basic cheek contour shape you can continue blending upwards towards the cheek bone, never blend down towards the jawline. We are trying to get an uplifted appearance to chisel the face, not sunken in. Pull the contour up the temple into the hairline, do not pull too far down. Pull and blend under jaw and chin depending on how chiseled you want your jawline to look. Then use a precision, eyeshadow brush to draw blended contoured lines down the sides of the nose to give it a slender appearance. Take the same brush and apply underneath your bottom lip to give a poutier/shadow appearance to your bottom lip.
If your contour gets a little messy and you want more of a precision you can clean it up using studio fix powder. Grab a DRY beauty blender, swirl it around in the product, start about mid ear and pull down underneath the contoured line towards the corner of your mouth. Grab more product and pull down the sides of your nose. See picture for reference! Let that sit for a minute and wipe away access.
Highlighter:
Then grab your highlighter of choice, currently I am using Becca Cosmetics, Prosecco Pop. Take your highlighting brush, pick up product, tap off excess and dab onto cheek bones, tip and bridge of nose, cupids bow and slightly above eyebrows and slightly on chin. Use your finger to apply down the center of your nose-just a small amount and tap it on.
Blush
Next step is blush. Grab an angled blush brush, swirl/dab into blush of choice (I switch between MAC blush shades Sweets for My Sweet and Melba) dab onto apple of cheek and blend upwards towards cheek bone, but don’t pull too far up.
Set face with Milani setting spray. (if you want a brighter/more intense highlight, apply highlighter after you set your face)
Eyebrows:
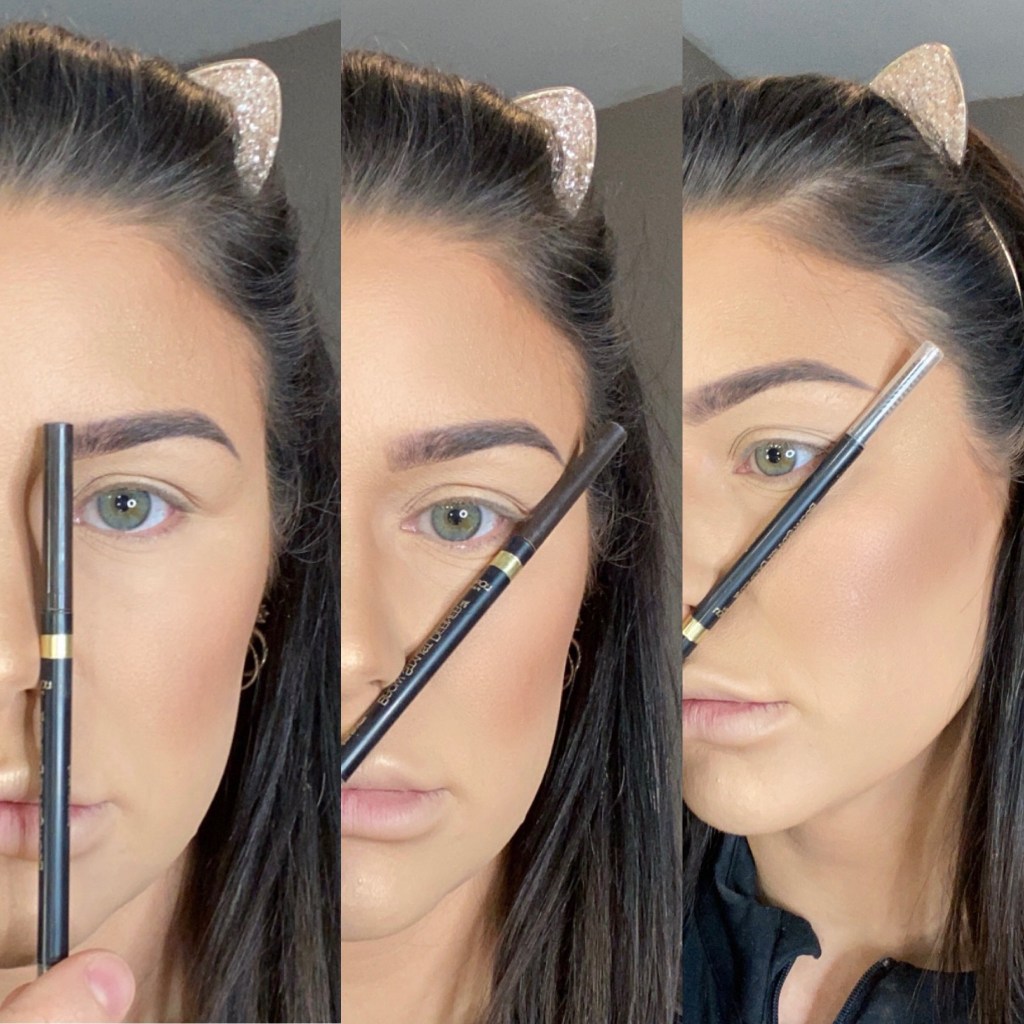
(Products used: NYX Micro Brow Pencil & L’Oreal Brown Stylist Definer, NYX Control Freak Eyebrow Gel)
Anyone else’s brows have the issue where one is like “Yaaaasss sis, I’m here for it, I gotchu” and the other one shows up like “Hi, I’m here to humble you today.” Lol! Like they say, eyebrows should be sisters not twins. Anyway…
There are a bunch of different ways that you can do your brows. This is just how I do mine! Take an eyebrow pencil and put it on the edge of your nostril, this is “technically” where your brow should start. Then take your pencil and angle it at your nostril to the outer corner of your eye and this is where the tail should end. I start with using a shade that is slightly lighter than my natural brow color for almost like a “background’ color is you will. I fill in a little more with this color. First, use the spoolie end to brush the hairs up. This shows any areas that hair is sparse and need to be filled in. Then, I take my eyebrow pencil and flatten the product so there is a blunt end. This allows for better precision when drawing lines. When drawing the hairlike strokes, draw the lines the natural way the hair grows. I start on the bottom of my brow and draw (pressing lightly) hair like strokes to define the bottom of my brow. Then, I move to the top of my brow, brush the hairs down and draw hair like strokes angled downward to define the top of the brow. I pull my tail out slightly longer than my hair grows. Then take the darker shade, make sure the end is blunt (pressing harder) and draw hairlike strokes. Brows should be lighter at the front and gradually get darker to the tail. Don’t draw too dark of strokes towards the front since you want this section lighter and to fade/blend into the rest of the brow. Use the spoolie end to blend this section of the brow to give that faded appearance. Finally, I use my clear eyebrow gel to set the hairs by brushing upward and taming any out of place.
(If you mess up don’t freak out, take a q-tip and lightly wipe away the mistake, take your beauty blender, using the side with product on it, dab the area where you wiped away the mistake, then blot the area with your kabuki brush and start over).
Eyeshadow:
Product ( for this picture I actually used my Too Faced Matte Bronzer as my eyeshadow for the day…don’t necessarily recommend this but I like the shade haha)
To keep it simple I only use one eyeshadow color for my everyday look. You could write a novel on different eyeshadow tutorials! I may do a very basic cut crease one in the future, but for today, basic and matte is what were working with!
Take a large, fluffy eyeshadow brush and pick up a warm neutral shade of tan/brown, swirl it and move the brush back and forth into the product then tap off the excess (you can always build more product on, don’t go in too heavy handed). Next, pat the product on your eyelid and start to swirl the brush in small circular motion to blend up towards your brow. Once you have the desired color and blending, pick up a smaller, fluffy eyeshadow brush and apply it to your lower lash line moving the brush back and forth under your eye pulling the product down about 1/4 inch underneath. If you want you can always add a little darker color to the corner and crease of your eye with a shimmer shadow over the lid. BUT that is for another day 😉
Eyelashes:
(Products used: Essence Lash Princess, Too Faced Better Than Sex, Ardell Wispie Lashes, DUO lash glue)
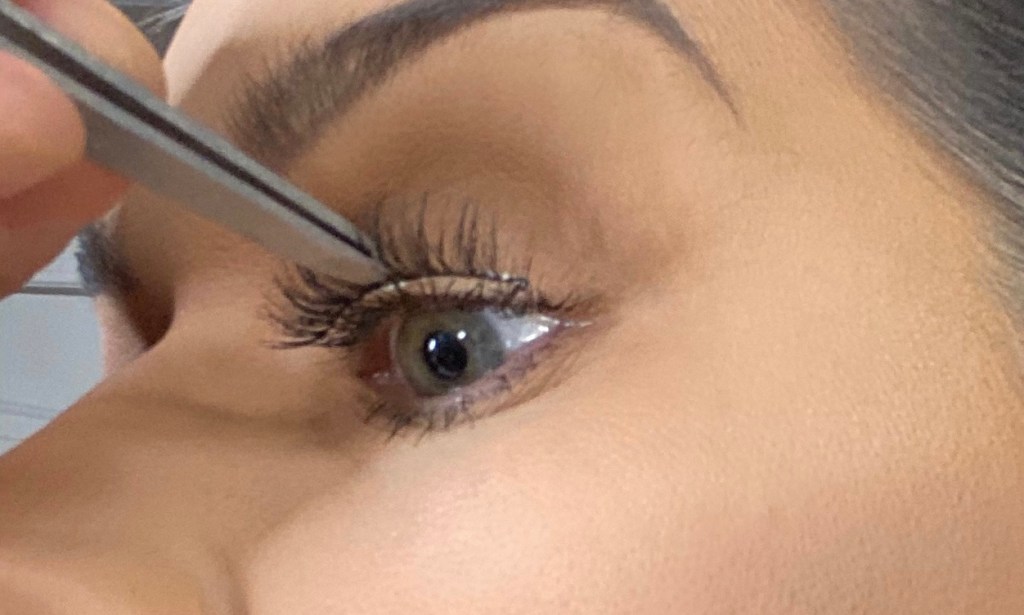
First things first, I always curl my lashes with an eyelash curler first. Make sure you get right at the base and pump the curler to lift your lashes (I’m sure this goes unsaid-but top lashes only! lol). Next go in with your mascara at the root/base of your lashes and wiggle the wand back and forth while moving up the lashes. Do that until mascara is applied on all lashes then go back in with upward motions to add another layer. Continue this until you get your desired look. Same motions for bottom lashes as well. If you are applying false lashes, take the lash and place it on your eye to measure the length. Cut off any excess to fit your eye. Take the lash and put your pointer fingers and thumbs at each end and bend the lash so it takes the shape of your eye (almost like a rainbow shape) and bend it a few times back and forth so it starts to take that shape. Grab the lash glue and (squeeze very carefully!) apply a very thin line all over the lash line, you do not need a lot! Too much will get messy and your lashes will slide all over. Blow on the glue until it is somewhat tacky (this shouldn’t take long). I know you technically aren’t supposed to apply lashes with tweezers but that’s what I use. Grab the lash with tweezers at the base in the middle as seen in the picture. Look in the mirror and tilt your head backward, apply lash to the middle of the lash line, then place the ends onto the corners of your eye at lash line. Then take your finger and and press lashes in and up to make sure they are secure. Apply mascara if desired.
Lips:
Products used: NYX Suede lipliner-color-sandstorm, Too faced Melted matte- Shades Cool Girl and Holy Chic!
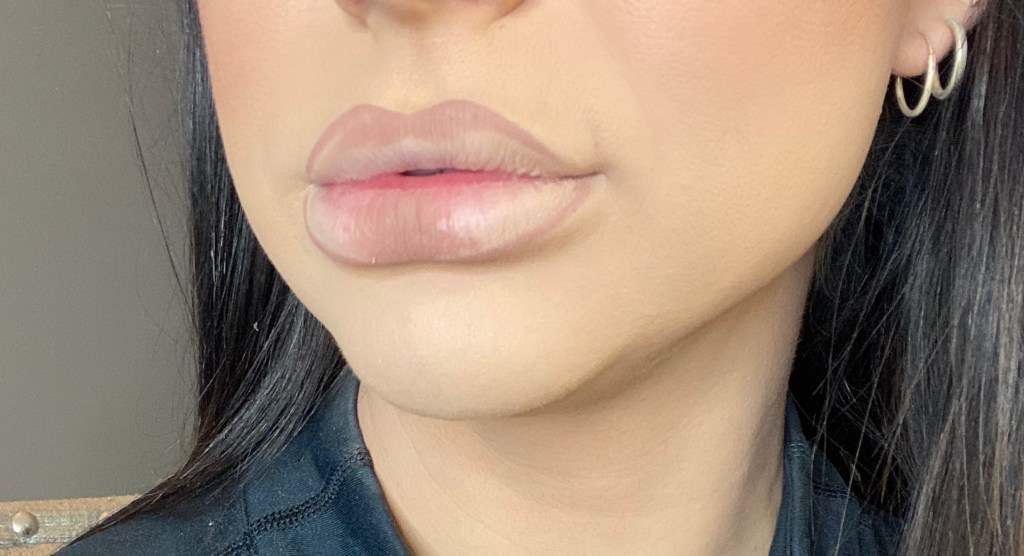
Start by making sure your lip liner pencil is sharpened. For reference, I over line my lips, but the same steps can be taken without over lining. Next, you will make a cross starting at the top of your cupids bow so the liner forms a V at the top. Go to each point at the top of the V and draw towards the corners of your mouth following your lip line. I fill in the top as seen in the picture but it is not necessary. Next, go to the center of your bottom lip and tighten your lip. Draw a line underneath in the center and connect it up to the corners of your mouth. I fill in the center of my lip with the liner, but again, not necessary.

Apply darker shade (I used Cool Girl) all over lips then add Lighter shade (I used Holy Chic!) in the center of the top and bottom lips and press your lips together. Next step you can either use your finger or a smaller condensed brush- you will want to tap over your lips to blend the colors- try to keep the lighter color focused in the center to give your lips slight dimension.
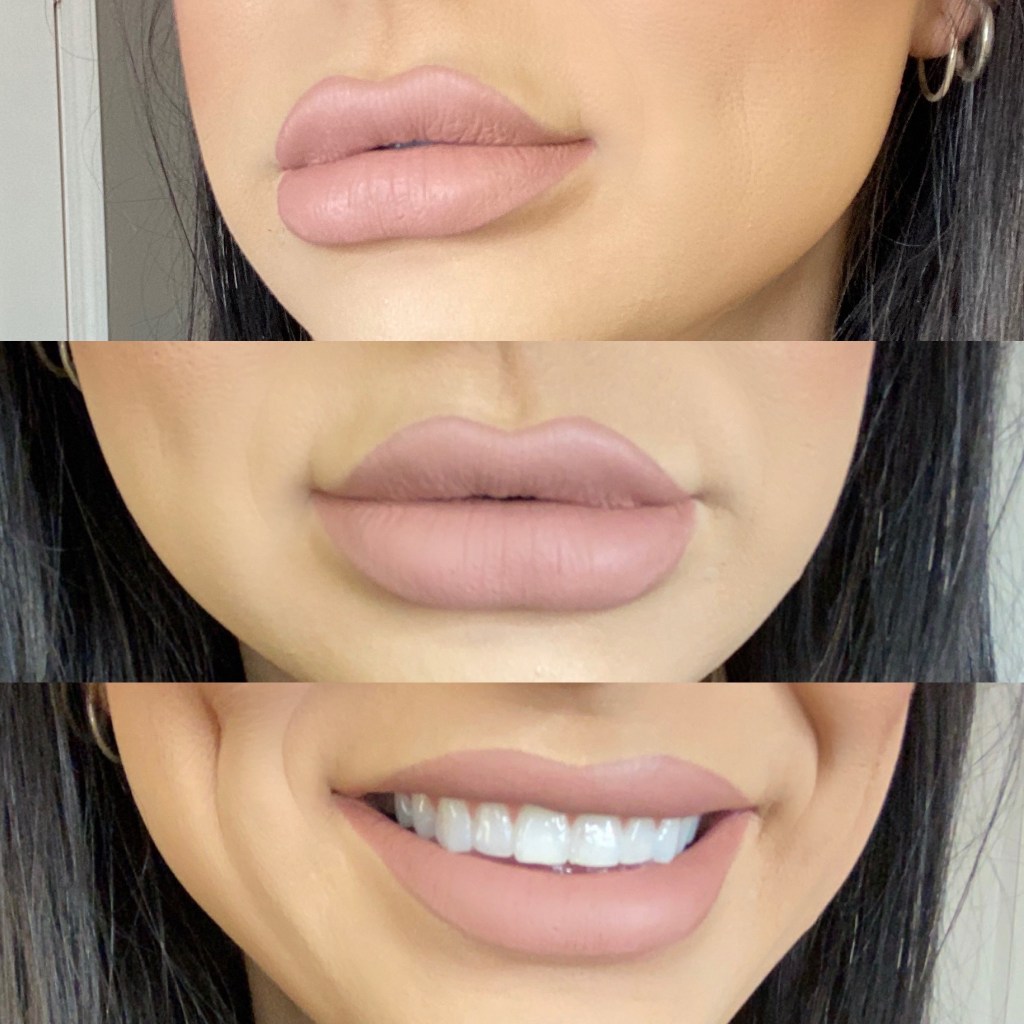
When Finished Color should look similar to this! Can add gloss if desired. Set face with setting spray one last time and VOILA!
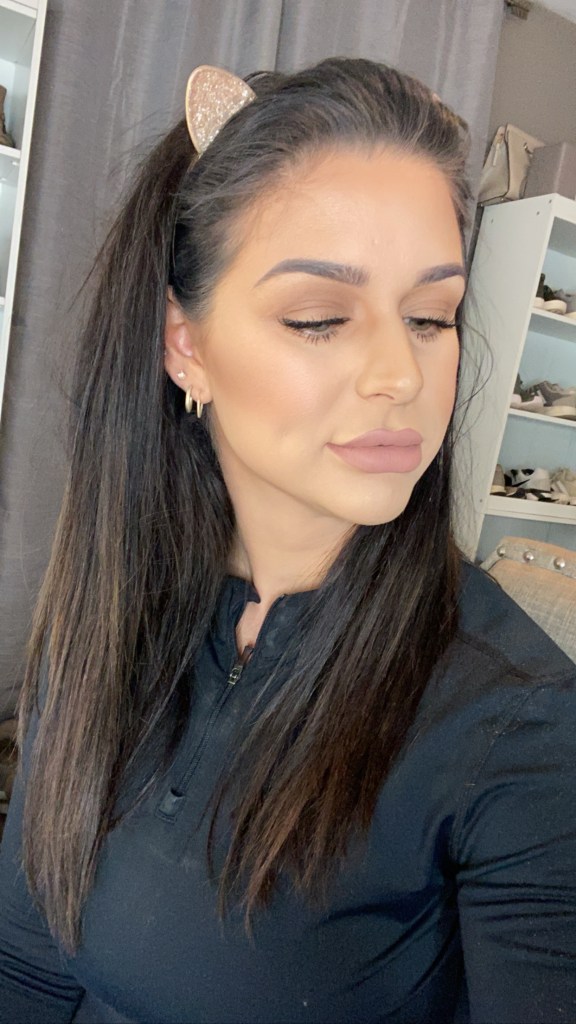
Final Product!!

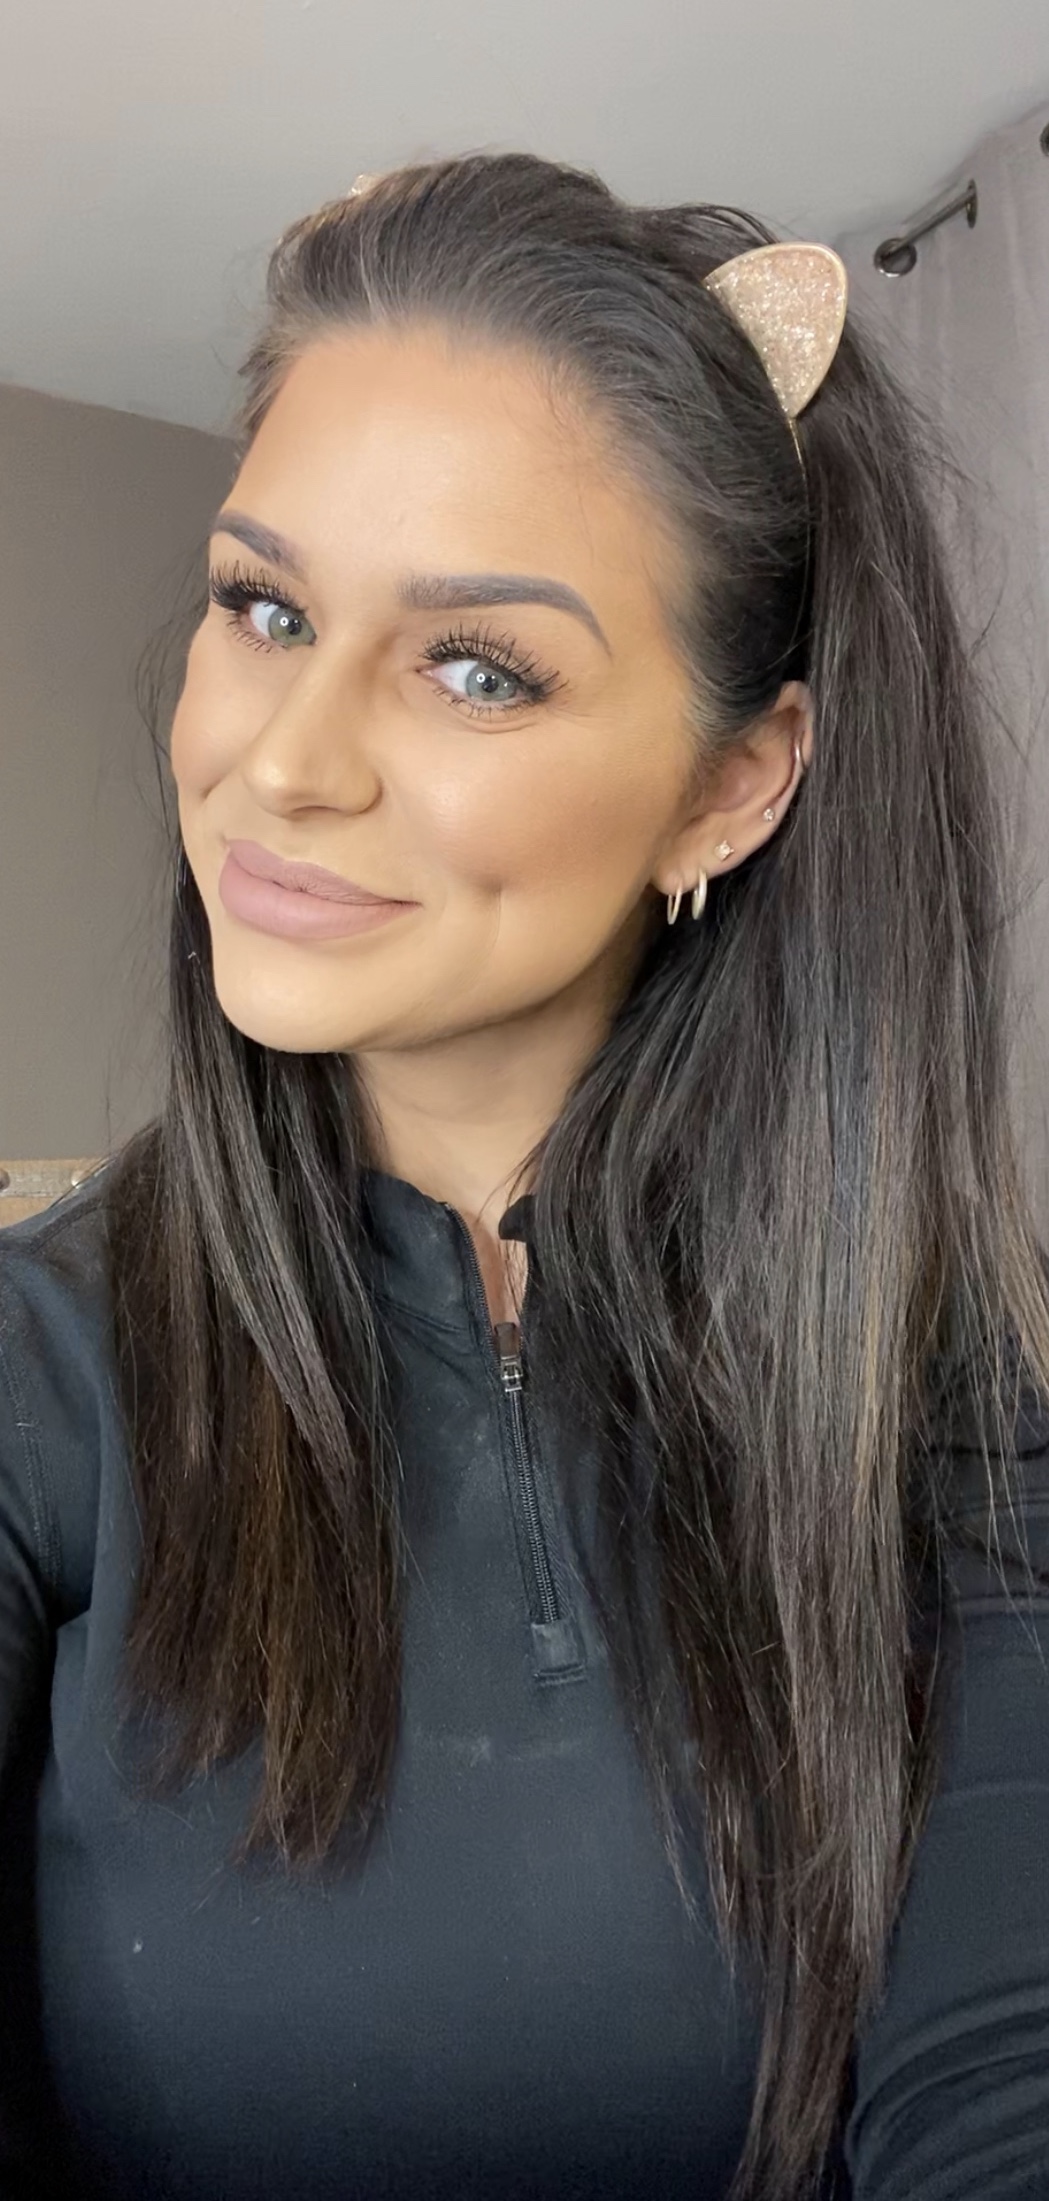
Please ignore all the powder and product on my shirt! Lol! Hope this was helpful!
